
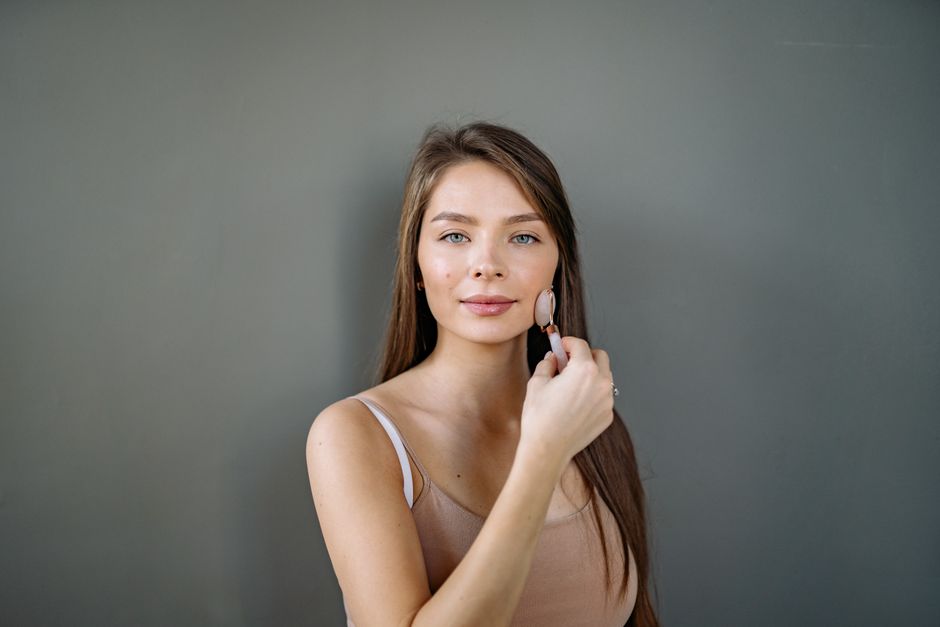
The common misconception is that lasting summer makeup requires a full-coverage base, heavy powder, and several layers of setting spray. In most cases, that approach creates the very problems people want to avoid: cakiness, visible creases, and makeup that separates when skin becomes warm. A better rule is simple: use less product, place it carefully, and let each layer settle before adding the next.
Why Light Makeup Lasts Longer in Heat
The strongest warm-weather routine starts with a decision about texture, not brand. The goal is to reduce the amount of material sitting on the skin while keeping coverage where redness, shadows, or uneven tone actually need it. My clear verdict: thin layers last longer than one thick layer because sweat has fewer heavy edges to break apart.
Heat changes the balance on your skin
Warm weather increases sweat, oil movement, and friction from sunglasses, hair, collars, and hands. A thick base may look smooth for an hour, then collect around the nose and mouth. A sheer base usually fades in smaller areas, which makes the result easier to repair. That difference matters during commutes, outdoor lunches, and long events.
Coverage should follow the problem
Apply more coverage only where you need it. Use a small brush or fingertip on redness around the nose, blemishes, and dark inner corners. Leave the cheeks, forehead, and jaw lighter so natural skin remains visible. This creates a fresh finish without asking one product to hide every variation in tone. In most cases, a satin or natural finish also looks more convincing in direct sunlight than a very matte surface.
How to Prep Skin Before Applying Makeup

Skin prep determines how the base moves later. The best verdict is to keep the routine short: cleanse, add light hydration, protect the skin, and wait before applying makeup. More layers do not automatically create better wear.
Use a four-step morning sequence
- Cleanse with a gentle formula or rinse with lukewarm water if your skin is not oily when you wake.
- Apply a thin layer of moisturizer, focusing on dry areas rather than coating the entire face heavily.
- Use broad-spectrum sunscreen and allow it to set for at least five minutes.
- Press a tissue over the T-zone before makeup if the skin still feels slick.
Test the surface before adding primer
Primer is useful when it solves a specific problem, but it can also make products pill. Wait until moisturizer and sunscreen no longer feel wet. Then test a small amount of base along the jaw. If it rolls into crumbs, reduce the number of layers or change the order. The e.l.f. For dry skin, a light moisturizer may give a smoother result than another gripping layer.
Skin Tint or Foundation: Which Base Holds Up Better?
For a fresh warm-weather look, my pick is a sheer-to-medium skin tint for daytime and a thin natural-finish foundation for formal events. The correct choice depends less on the word summer and more on how much coverage you need to maintain for several hours.
The practical base comparison
| Base type | Best use | Typical result |
|---|---|---|
| Skin tint | Daily errands, office wear, outdoor plans | Sheer coverage with less visible fading |
| Natural-finish foundation | Photos, weddings, uneven redness | More even tone but greater crease risk |
| Full-matte foundation | Very oily skin or stage-style makeup | Strong initial control but can look dry |
Specific formulas and a clear winner
It is the better value for normal to combination skin that wants visible skin texture. Use one pump, spread it from the centre outward, and stop before the face looks uniformly coated. For light everyday makeup, Maybelline wins; for a long indoor event, NARS is the stronger coverage choice.
How to Control Sweat, Shine, and Creasing
Powdering the entire face is not the best solution. The winning method is targeted control: keep flexible areas flexible and set only the places that become visibly shiny. That preserves the fresh finish while reducing movement.
Follow the face’s sweat map
Most people need control around the sides of the nose, upper lip, centre forehead, and chin. Those areas experience oil, warmth, and repeated contact. Use a small fluffy brush to press a small amount of translucent powder into the skin. Do not sweep back and forth, because that can lift the base underneath. The outer cheeks usually need less powder, especially if the skin is dry or textured.
Touch up in the right order
- Blot sweat and oil with tissue or blotting paper.
- Wait a moment for the skin to cool.
- Press a tiny amount of concealer only where coverage has disappeared.
- Add powder to the corrected area, not the whole face.
- Leave intact makeup alone.
Adding fresh powder over wet sweat creates a paste-like finish. Blotting first is the small step that prevents the largest mistake.
Blush and Eye Makeup That Still Looks Fresh
Use cream or liquid colour sparingly, then anchor it with a small amount of powder colour. This gives warmth and dimension without making the face look layered. My pick for cheeks is a muted rose or peach rather than a very pale pastel, because stronger pigment survives fading with less product.
Place blush high and keep the edges soft
One small dot per cheek is enough for a light look. Tap it over the upper cheek, moving toward the temple, then soften the lower edge with a clean fingertip. Too much liquid blush becomes difficult to correct once powder is added. If you prefer a quieter result, use a cream blush and set only the centre of the cheek with a matching powder shade.
Keep eyes simple in humidity
Brown pencil, waterproof mascara, and a single satin shadow usually outlast a complex eye design. Apply pencil close to the lash line and soften it before it sets. Avoid thick cream shadow in the crease if your eyelids become oily. Curl lashes, use one controlled coat of waterproof mascara, and check the lower lash line after ten minutes. A clean upper lash line looks fresher than dark pigment that has migrated under the eye.
What Makes Fresh Makeup Fail?

Most failures come from too much product, poor timing, or choosing a formula for the wrong skin condition. The clear recommendation is to fix the cause instead of repeatedly adding coverage.
Why does makeup separate around the nose?
Usually, the surface contains too much skincare, sunscreen, or oil. A heavy moisturizer under a gripping primer can create competing layers. Remove excess with tissue, use less base around the nostrils, and press rather than rub. If a product pills during the initial application, do not assume more setting spray will repair it. Change the layer underneath.
When should you skip a long-wear product?
Skip an intensely matte base when dry patches are already visible. It may hold pigment but emphasize texture within hours. Likewise, skip a very dewy tint for a full day outdoors if you know the centre of your face becomes oily. Maybelline Super Stay Skin Tint is a sensible light option, but it is not a substitute for a fuller base where persistent discoloration needs coverage.
A Reliable Ten-Minute Warm-Weather Routine
The most dependable routine is short enough to repeat and flexible enough to repair. My final verdict: choose a light base, put coverage only where needed, and reserve setting products for the areas that move.
The application order
- Apply moisturizer and sunscreen, then wait five minutes.
- Press away surface shine around the nose, forehead, and chin.
- Use a thin layer of Maybelline Super Stay Skin Tint, or apply one pump of NARS Light Reflecting Foundation for more coverage.
- Spot-conceal redness and darkness instead of adding a second full layer.
- Tap one small dot of Rare Beauty Soft Pinch Liquid Blush onto each cheek.
- Set the centre of the face with a small brush and translucent powder.
- Add brown liner and waterproof mascara.
- Finish with a light mist of Urban Decay All Nighter only after the layers look even.
The final check before leaving
Look at the face in daylight, not only under a bathroom bulb. Check the jaw, sides of the nose, hairline, and under-eye area for visible edges. If the makeup looks heavy before you leave, it will rarely become lighter outdoors. Remove one layer with a damp sponge or clean fingertip, then reassess. Warm-weather makeup is moving toward lighter textures, better flexible pigments, and routines built around real skin rather than total coverage. That shift should make lasting makeup feel more natural, not more complicated.