
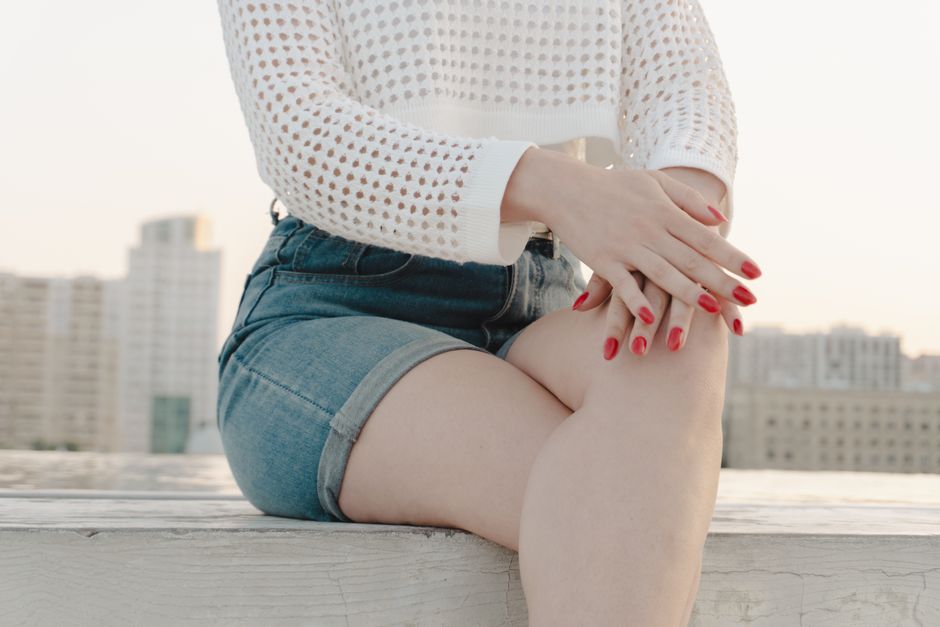
You have packed the white linen outfit, booked the beach dinner, and painted your nails the brightest coral you could find. Two days later, the tips look chipped, the polish has dulled from sunscreen, and one nail has split after you opened a suitcase. A holiday manicure needs more than a pretty colour. It needs the right shape, finish, prep routine, and a repair plan for heat, salt water, chlorine, and constant hand washing.
Which bright nail colours work best for a summer holiday?
The best holiday colours create contrast against sun-kissed skin, swimwear, and pale summer clothes without making small chips look obvious. Strong orange, vivid pink, clean cobalt, and lime green all photograph well. The safest choice is not always the loudest shade, though. A colour with a slightly milky or creamy base hides uneven edges better than a thin neon that shows every brush mark.
Choose colour by contrast, not just trend
Coral and tangerine make warm skin look brighter, while cobalt blue gives a sharper contrast against white, cream, and denim. Hot pink works across most skin tones because the colour sits between red and purple. Lime looks striking on short nails, but it needs smooth application because streaks show quickly.
| Colour family | Best visual effect | Chip visibility | Best nail length |
|---|---|---|---|
| Coral | Warm, glossy, easy to wear | Low to medium | Short to medium |
| Tangerine | Bold against white clothing | Medium | Short to medium |
| Cobalt blue | High contrast and polished | High | Medium |
| Hot pink | Playful but flattering | Medium | Any length |
| Lime green | Fresh, graphic, modern | High | Short |
Use the finish to control the look
Glossy nails reflect sunlight and make a simple single-colour manicure look deliberate. A soft shimmer adds depth to pale pink, peach, and yellow without requiring nail art. Matte top coats suit graphic designs, but they show sunscreen marks and can lose their even texture faster near the pool. For a week-long trip, glossy cream colours offer the best balance between impact and easy maintenance.
My clear winner for most travellers is bright coral on short, softly rounded nails. It reads as colourful in photographs, works with several outfits, and disguises small wear better than navy or neon yellow.
How should you design nails for heat, swimming, and travel?
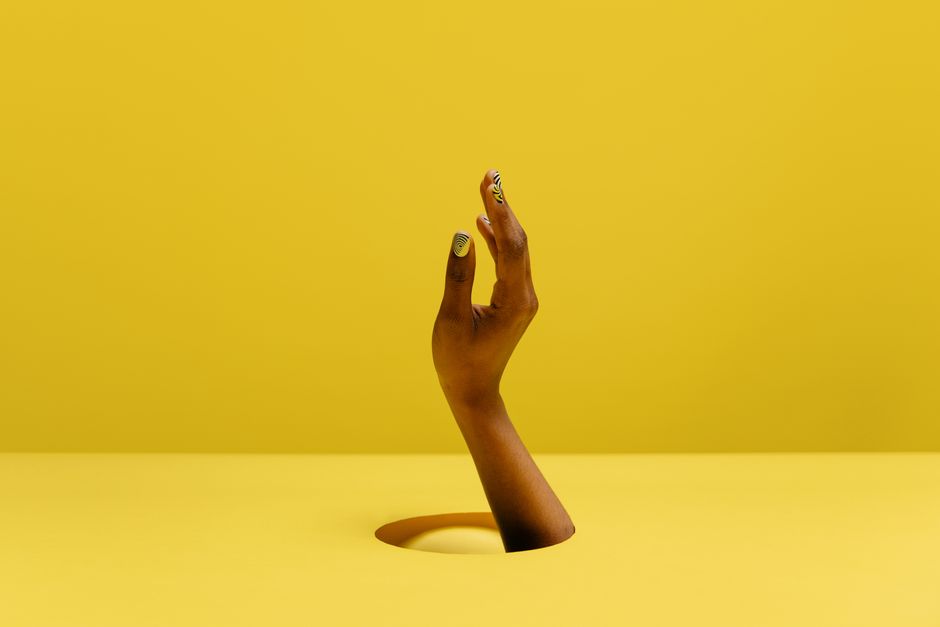
A holiday manicure lasts longer when the design has fewer weak points. Tiny gems, raised flowers, and thick layers of contrasting polish can look beautiful on day one, but they catch on towels, clothing, and luggage zips. The design should match the way you spend your trip. A beach holiday needs a different manicure from a city break filled with restaurant reservations and shopping bags.
Keep the free edge short enough to survive
File the nails to roughly 3 to 5 millimetres beyond the fingertip. That length still looks elegant but gives you less surface to knock against hard objects. A rounded or squoval edge creates fewer corners than a sharp square shape. File in one direction with a fine 180- to 240-grit file, especially if your nails peel at the tips.
Place detail where it cannot catch
If you want nail art, keep the design flat. Small dots, narrow French tips, and two-tone colour blocks usually survive better than thick decals or large stones. Put the brightest detail on one or two accent nails instead of building a heavy design across all ten fingers. You reduce the number of areas that can lift, and you also make a repair easier if one nail fails.
Match the manicure to the trip
For daily swimming, choose one opaque colour with a sealed glossy finish. For a festival or city trip, a colourful French tip adds personality while leaving more of the nail in a forgiving nude tone. For a short weekend, press-on nails can create length quickly, but they need careful sizing and a clean nail plate. If your nails are thin or sore, avoid extensions and choose a short natural manicure instead.
The practical verdict is simple: the more water, sport, and luggage handling your holiday includes, the flatter and shorter your design should be. Bright colour creates the impact. Simple construction keeps it intact.
What preparation makes a manicure last longer?
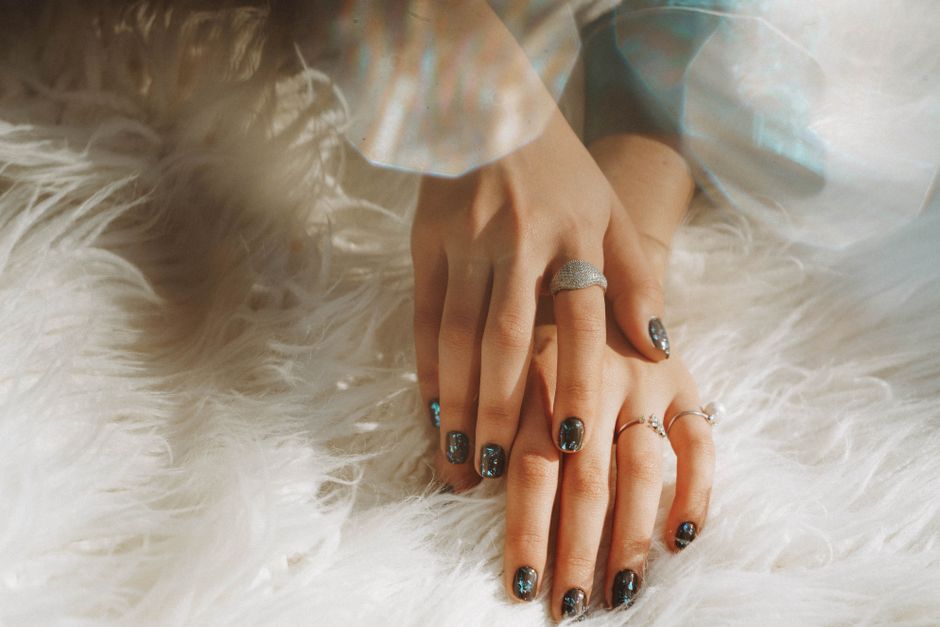
Long wear starts before the first coat of colour. Oil, moisture, rough edges, and polish on the skin give a manicure easy places to lift. Follow this order on the day of application:
- Shape the nails first. Trim splits, smooth the free edge, and avoid cutting deeply into the corners. A clean shape prevents snags that can crack the polish later.
- Wash your hands, then wait until the nails dry fully. Do not soak them in warm water before painting. Water makes the nail plate expand, and the layers can separate as it contracts.
- Push back loose cuticle gently with a wooden stick. Remove only the thin tissue sitting on the nail plate. Cutting live skin can create soreness before your holiday has even started.
- Wipe each nail with a small amount of acetone or nail cleanser. This removes hand cream and natural oil. Do not apply cuticle oil until the polish has finished curing.
- Apply a thin base coat, leaving a tiny gap around the cuticle. Thick layers stay soft in the middle and dent more easily.
- Use two thin colour coats instead of one heavy coat. Let each coat dry or cure for the full time on its instructions before adding the next.
- Seal the free edge with top coat. Run the brush across the nail tip, then let the manicure set before packing, showering, or applying sunscreen.
Give the manicure enough setting time
Surface-dry does not mean fully hard. Regular lacquer can feel dry while the lower layers remain soft. Paint your nails at least two hours before bed and avoid tight shoes, suitcase packing, or hot showers during that window. Gel systems harden under a lamp, but they still need clean application. Polish touching the skin can lift and pull away from the nail.
Protect the finish during the trip
Apply cuticle oil once or twice a day after the manicure has set. Rub sunscreen into your hands after applying it to your body, then wash the palms before touching the nails. Wear gloves when opening rough packaging or handling hair tools. These small habits matter more than adding extra polish at the last minute.
The biggest mistake is rushing the first hour. A careful prep routine and thin layers usually add more wear than a thick emergency coat applied just before leaving.
Which holiday manicure mistakes cause early chips?
My strongest recommendation is to skip long extensions for an active beach holiday. They add leverage when you open bags or pull on swimwear, so a small knock can become a painful break. Short natural nails with bright polish look cleaner by the end of the week.
Do not paint over oil or dampness
Hand cream, cuticle oil, and leftover soap prevent the base coat from gripping the nail. Clean the plate immediately before painting and keep oil away until the finish has hardened. Do not soak your hands before the appointment or home manicure; that short-term softness can lead to lifting later.
Do not use extra-thick coats to hide streaks
Thick polish takes longer to harden and dents when you reach into a suitcase. If a bright shade looks patchy, use a third thin coat after the second one has dried instead of one heavy coat. Seal the tip each time, but do not flood the cuticle or sidewalls.
Know when not to buy a gel system
Skip gel strips, builder gel, or salon extensions if your nails are peeling, tender, or already cracked. Removal can make the surface rougher when you pick or scrape the product away. Choose regular polish or a short press-on set with gentle removal instead. For a professional finish, CND Vinylux Weekly Polish is a better low-commitment option than hard gel because it gives colour without adding length or a difficult removal process.
Keep one small repair kit in your luggage: a fine file, a mini bottle of top coat, two adhesive tabs, and a few cotton swabs. File a snag smooth as soon as you feel it. Waiting until the nail catches on clothing usually turns a minor edge into a full chip.